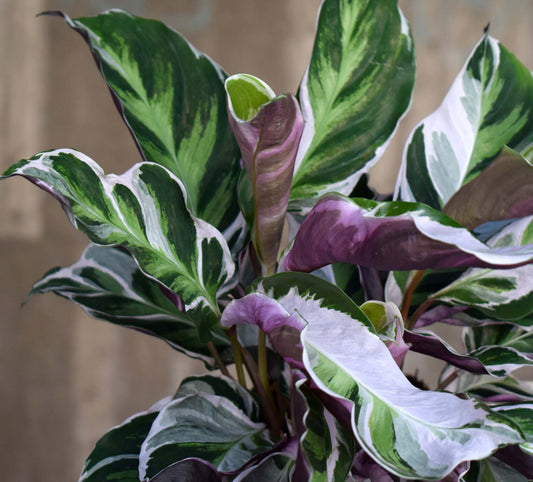
Different Ways to Propagate Plants
When it comes to creating new plants, plant experts usually talk about either sexual or asexual reproduction. Sexual reproduction occurs when pollen (the male part) meets an egg (the female part). A seed is created that contains DNA from both plant parents. When the seed germinates, it slowly grows into a plant with characteristics from both. But here, we'll focus on asexual reproduction, because that's what we can do at home.
Asexual reproduction is anything that can be done without seeds. It is usually divided into:
- Cuttings (cutting off a part of the plant and rooting it)
- Division (removing parts of the plant that have already grown and planting them)
- Bulbs, tubers and rhizomes
What is the Best Time to Propagate?
Timing is important when propagating houseplants. While some plants can be propagated year-round, the best time to do so is in late spring or early summer. This is when plants naturally experience a growth spurt, making them more resilient and adaptable to the propagation process.

Important to know: You can also propagate plants in late summer, fall, and even winter if needed. But remember that the more dormant your plant is, the lower the chance of success. The key to successful propagation is observation: if your plant is still growing, it still needs to be able to propagate successfully. If it is growing more slowly, the chances are lower. If it is not growing at all, you should wait.
Cuttings: The Most Common Method
A cutting is a piece of a plant (specifically a part of the stem, a leaf, or a root) that can produce a new plant. In nature, this is a very useful ability for plants: when they lose a branch due to a storm or because an animal broke it, the branch is not always lost. Over time, it can grow into a new plant!
Stem cuttings
A stem cutting consists of a section of the stem and may or may not include roots and leaves. It is the most common type of cutting. You can take a stem cutting from the top, middle, or bottom of a plant.

Top cutting
A top cutting is taken from the end of a branch or the top of the mother plant, where the plant is actively producing new growth. It is the easiest method, even for beginners! Cut straight across, about 1 cm above a node. The cutting must be large enough, meaning it has at least 1 or 2 fully developed leaves and a bare node at the bottom. If you do not have a bare node, you can remove the leaves on the last node, but make sure you still have 1 or 2 mature leaves left on your cutting.
Plant it directly in soil if you have high humidity or put it in water, perlite, pon or sphagnum moss. Once it has several roots, you can move it to soil.
Intermediate cutting
The principle is similar to a top cutting, except that you don't use the end of the stem but a piece in between, between the top and bottom of the plant. Make sure the cutting has at least one leaf and one node. The preferred number of nodes and the length of the cutting depends on the plant species. But it is always true that a cutting should not have too many leaves (5 and up is too many).
This is because leaves create energy for the plant, but they also cost energy to maintain. A balance must be struck between the need to create energy and the cost of maintaining the leaves. If too much energy is spent on leaves, too little will be given to forming new roots.
Wet Stick (Bar Stem)
A wet stick is a piece of stem with a node that has not yet sprouted and has no leaves or roots. Basically, it is a bare piece of stem with a node. It is considered one of the most difficult cuttings to handle because there are no roots or leaves to provide energy to the node. This means that the node will only be able to rely on the energy stored within the stem, which may not be enough to sprout a whole new leaf or roots.
It is not impossible, but it is risky and requires a lot of patience! The wet stick should be placed on a moist medium with high humidity and good light.
Bottom cutting
A bottom cutting is a common term used to describe a cutting made from the lower end of the stem, usually without leaves but with at least one or more nodes and a full set of roots. If you were to cut your plant off at the level of the pot, you would be left with a bottom cutting. This is especially common with Anthuriums.
It is not a difficult cutting if the roots are plentiful and healthy, but it will still need some time before it shoots a new leaf. Be careful, though, as a bottom cutting will require much less watering than the plant used to get before it was cut.
Leaf cuttings

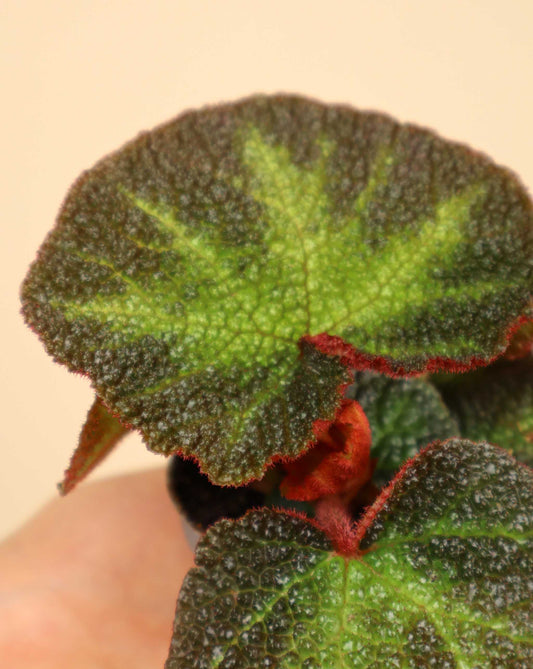
This cutting includes just the leaf with or without a petiole, but it is limited to very specific plants, such as Begonia, Zamioculcas, and Pilea. You can take leaf cuttings in different ways depending on the plant you want to propagate.
Leaf with Leaf Stem
This is the easiest form of leaf cutting! Cut a leaf including the leaf stem with a sharp knife and place it in a pot with cutting soil. Make sure the cutting is placed in the pot at a slight angle and the leaf stem is completely in the soil. The leaf will stick out a little. This works for Elephant Ears.
Blade without Blade Stem
This is suitable for plants like the Wardrobe Flower (Zamioculcas). Choose a healthy leaf, cut it without the petiole and place it in water or soil (if you have high humidity around it).
Pieces of Leaf
This method is often used with Begonias or succulents like Sedum. Take a leaf from a healthy plant that is fully developed and undamaged. Place the leaf face up on a cutting board and cut away the edges of the leaf. Then cut the leaf into 2x2 centimeter pieces and place them face up on your chosen medium. Give them some water and plenty of humidity and you will see that after about a month and a half to two new plants will start to grow!
Important: It is important for the cutting that the top edge remains facing upwards. Otherwise it will not grow roots.
Sharing
Dividing means removing a part of the plant that is already fully ready to develop into its own plant. It may even already be its own plant, with its own root system and some leaves.
Which Plants Can Be Divided?

To determine if a houseplant can be divided, observe its growth pattern. Plants that produce shoots from the base or multiple stems from a central root system are usually good candidates. Look for plants that have a clump or bushy growth where new shoots or rosettes emerge from the soil near the parent plant.
How to Divide a Large Plant
By large plants, we mean pots that contain several fully developed plants, either because several plants were originally planted together, or because the plant had time to grow several babies and these babies grew into large plants themselves.
Step 1: Water your potted plant thoroughly the day before you start dividing it. This will ensure that the soil is moist and pliable, making it easier to separate the roots without causing damage.
Step 2: Prepare your tools and a space where you will start propagating. You will need:
- Planting mat
- Pots with drainage holes
- Sharp and clean knife or pruning shears
- Well-drained planting soil
Step 3: Remove the potted plant from its current pot. Carefully tilt the pot sideways, using one hand to support the soil and base of the plant while the other hand holds the pot.
Step 4: Try to identify how many plants are in the pot. Now that the soil is gone, you should be able to see how many distinct plants there are. These often have their own root systems.
Step 5: Begin to carefully separate these sections. Using your fingers, gently pull the different plants apart. Make sure each section has some roots. Be careful not to damage the roots too much and slowly separate any that are twisted together. If some sections are difficult to separate, use a clean knife or scissors.
Step 6: Replant each section into its own pot. After separating your plants, transplant them into a new pot filled with well-draining soil. Just handle the roots gently and don't push them too hard into the soil. After that, water them well but not too much!
How to Separate a Shot
Separating a plant with a shoot is not much different than separating a large plant. The steps are the same, except that the shoot will be very small. It is a baby, so it probably has few or no roots and is attached to the mother plant. You may need to use a clean knife to carefully remove the baby.

It is best to wait until the section has developed some roots before removing it as it will have a higher chance of success. If there are no roots, you can put it in water or your preferred medium until it grows enough roots.
Bulbs, Tubers and Roots
Bulbs, corms, and rhizomes are quite similar, so it's hard to tell them apart. They can all grow into plants, but they still have some differences.
Bulbs & corms are types of underground storage organs found in some plants. They act as nutrient reserves and aid in the propagation and survival process of the plant. Bulbs are modified stems surrounded by fleshy leaves, such as Caladiums but also onions and tulips. Corms, such as Alocasia corms, are swollen underground stems, often produced by the mother plant. Root caps are thickened, underground stems that store nutrients, such as those found in Oxalis, but also potatoes and dahlias.
Growing from Bulbs or Tubers
Growing bulbs and corms, such as Caladiums and Alocasia, follows similar principles but with some differences in technique.
To grow Caladium bulbs, select healthy bulbs and plant them in well-drained soil, making sure they are placed with the rounded side down and the pointed side up. Place them in a location with indirect sunlight and keep the soil consistently moist, but not waterlogged. Caladiums thrive in warm temperatures and high humidity.

To grow Alocasia corms, select firm, healthy corms and plant them right side up (for a corm, the bottom is the flatter side and the top is the pointed side) in a well-drained potting mix, burying only half of the corm. Provide bright, indirect light and keep the soil evenly moist, allowing it to dry out slightly between waterings. Alocasias prefer warm temperatures and high humidity as well.
With both types of underground storage organs, regular monitoring, proper watering, and appropriate environmental conditions ensure successful growth. Don't forget to use a canopy for extra moisture if needed!
To grow rhizomes like Oxalis, start by choosing healthy ones without any damage. Plant them about a few inches deep in well-drained soil, making sure the pointed side is up. Place the pot where it gets indirect sunlight, as Oxalis rhizomes prefer it. Keep the soil moist but not too wet, letting the top inch dry out between waterings. The Oxalis plant likes temperatures around 65 to 75 degrees Fahrenheit.
With regular watering and enough light, your Oxalis tubers will grow well and give you beautiful leaves and flowers to enjoy. After that, patience is key: it may take several weeks before you see anything!
Termination
Propagating plants is one of the most rewarding projects you can do as a plant lover. It costs nothing (you already have the plant!), it's fun, and the feeling when the first root appears is indescribable.
Start with easy plants like Pothos, Monstera or Chinese money plant. They are very forgiving and give quick results. Once you feel confident, you can tackle more difficult plants.
Remember that propagation requires patience. Some cuttings root in a few weeks, others take months. Don't give up just because it takes time, it's part of the process.
We at Ormbunker love propagating plants and are happy to share our own tips and tricks. Do you have any questions about how to propagate your particular plant? Get in touch, we're happy to help!